Windows Subsystem for Linux (WSL) is a compatibility layer for running Linux binary executables (in ELF format) natively on Windows 10 and Windows Server 2019. If you don’t know what Windows Subsystem for Linux is (WSL from now on in this post), I recommend reading this before.
In this blog, I shall not only tell you how to setup WSL2 on you blog but I will also guide you about how to move the vhdx(virtual hard disk) file of ubuntu to other drives(Eg - E: or D: instead of C:).
If you already have WSL2 installed please move on to step B.
Step A - Installing WSL2 on your PC
Here I am going to perform the manual installation steps present on the official docs given here. The steps mentioned here are same has those mentioned on the official website.
Step 1 - Enable the Windows Subsystem for Linux
You must first enable the “Windows Subsystem for Linux” optional feature before installing any Linux distributions on Windows.
Open PowerShell as Administrator and run:
dism.exe /online /enable-feature /featurename:Microsoft-Windows-Subsystem-Linux /all /norestart
Step 2 - Check requirements for running WSL 2
To update to WSL 2, you must be running Windows 10.
- For x64 systems: Version 1903 or higher, with Build 18362 or higher.
- For ARM64 systems: Version 2004 or higher, with Build 19041 or higher.
- Builds lower than 18362 do not support WSL 2. Use the Windows Update Assistant to update your version of Windows.
To check your version and build number, select Windows logo key + R, type winver, select OK. Update to the latest Windows version in the Settings menu.
Note :If you are running Windows 10 version 1903 or 1909, open “Settings” from your Windows menu, navigate to “Update & Security” and select “Check for Updates”. Your Build number must be 18362.1049+ or 18363.1049+, with the minor build # over .1049. Read more: WSL 2 Support is coming to Windows 10 Versions 1903 and 1909. See the troubleshooting instructions.
Step 3 - Enable Virtual Machine feature
Before installing WSL 2, you must enable the Virtual Machine Platform optional feature. Your machine will require virtualization capabilities to use this feature.
Open PowerShell as Administrator and run:
dism.exe /online /enable-feature /featurename:VirtualMachinePlatform /all /norestart
Restart your machine to complete the WSL install and update to WSL 2.
Step 4 - Download the Linux kernel update package
- Download the latest package:
Note: If you’re using an ARM64 machine, please download the ARM64 package instead. If you’re not sure what kind of machine you have, open Command Prompt or PowerShell and enter:
systeminfo | find "System Type". Caveat: On non-English Windows versions, you might have to modify the search text, for example, in German it would besysteminfo | find "Systemtyp".- Run the update package downloaded in the previous step. (Double-click to run - you will be prompted for elevated permissions, select ‘yes’ to approve this installation.)
Once the installation is complete, move on to the next step - setting WSL 2 as your default version when installing new Linux distributions.
Step 5 - Set WSL 2 as your default version
Open PowerShell and run this command to set WSL 2 as the default version when installing a new Linux distribution: PowerShell
wsl --set-default-version 2
Step 6 - Install your Linux distribution of choice
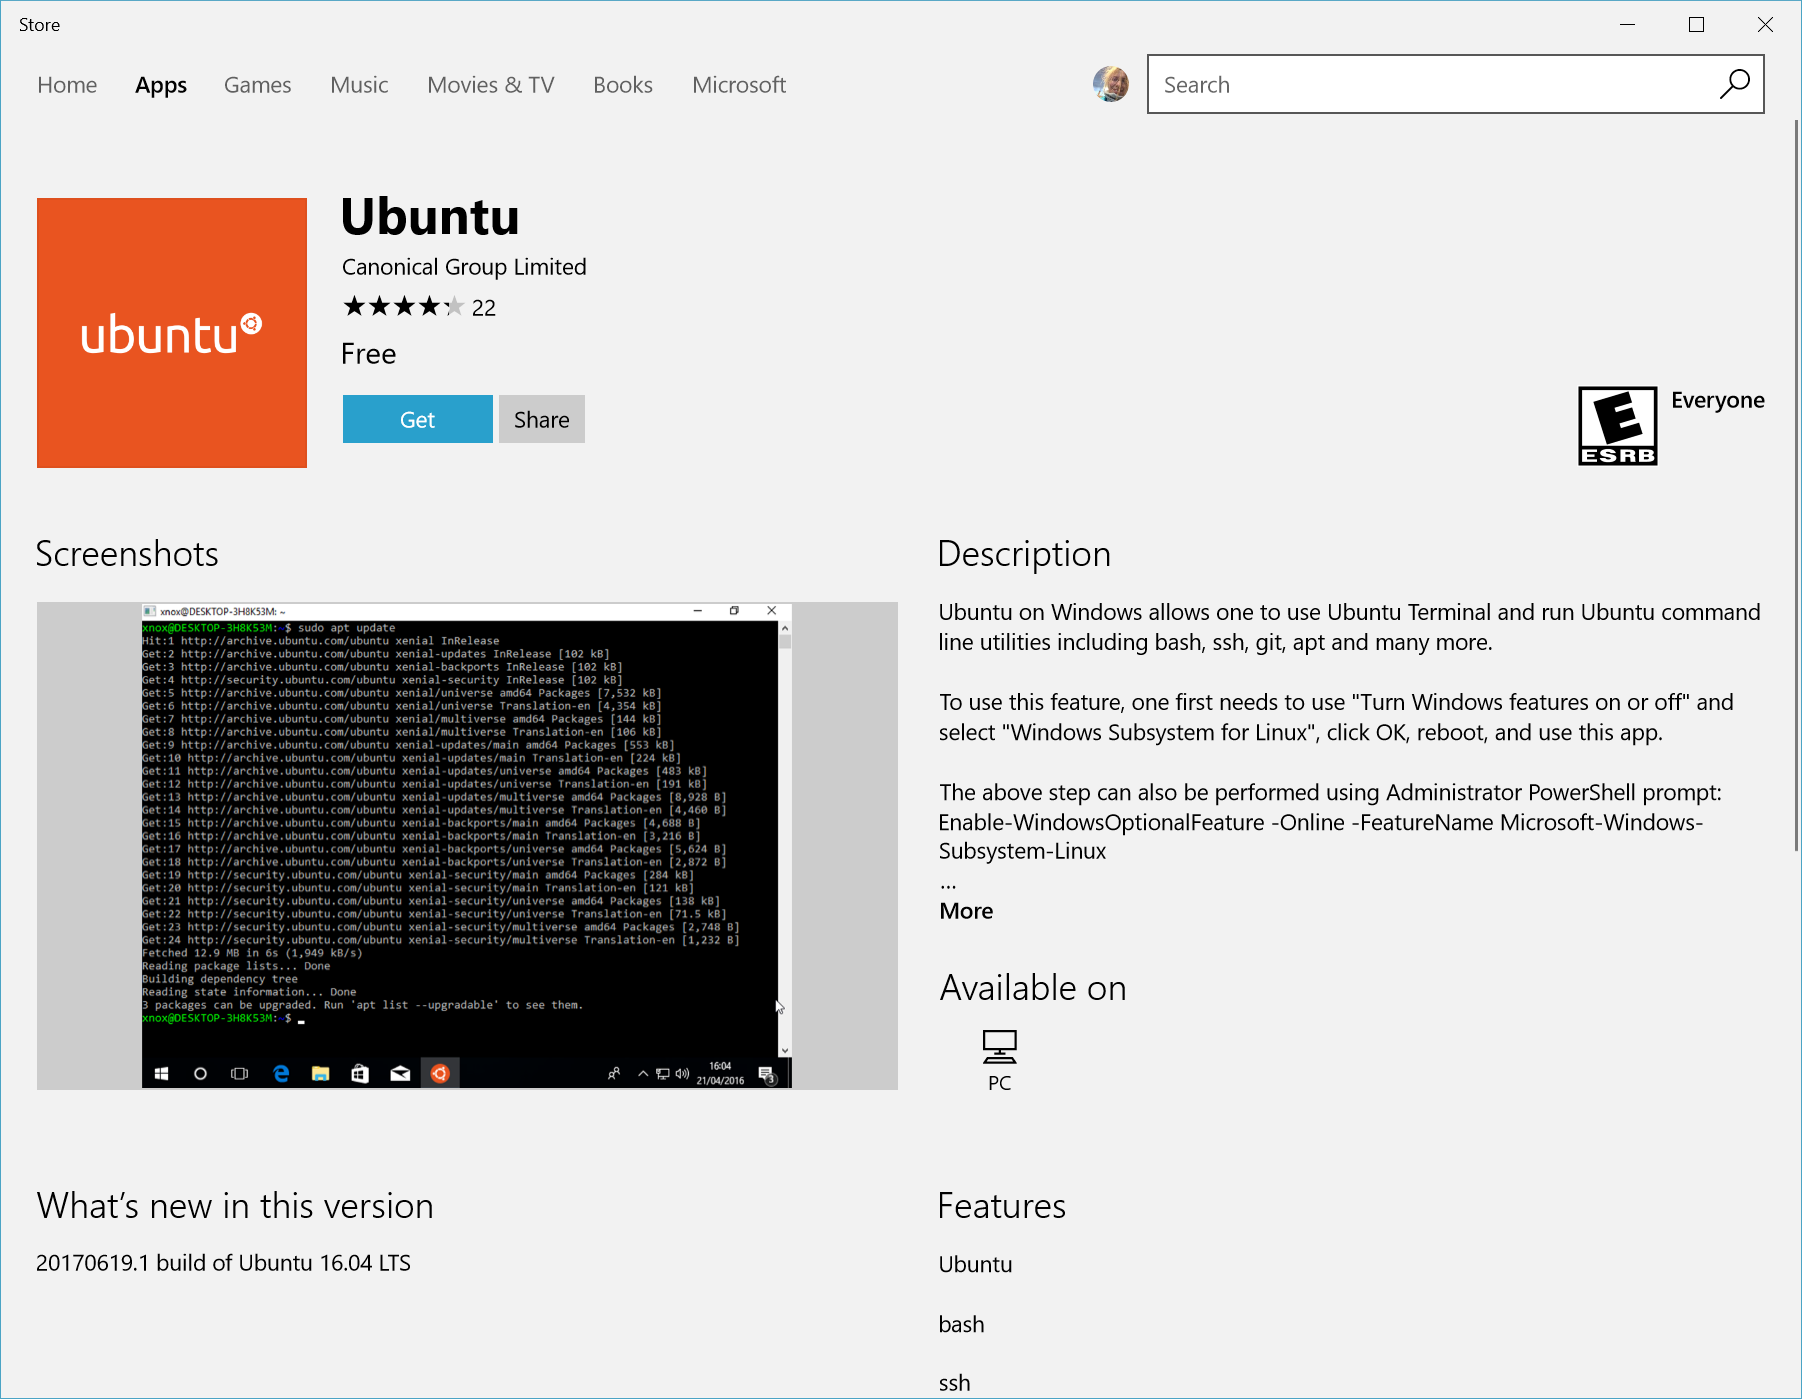
Open the Microsoft Store and select your favorite Linux distribution.
View of Linux distributions in the Microsoft Store
he following links will open the Microsoft store page for each distribution:
- Ubuntu 16.04 LTS
- Ubuntu 18.04 LTS
- Ubuntu 20.04 LTS
- openSUSE Leap 15.1
- SUSE Linux Enterprise Server 12 SP5
- SUSE Linux Enterprise Server 15 SP1
- Kali Linux
- Debian GNU/Linux
- Fedora Remix for WSL
- Pengwin
- Pengwin Enterprise
- Alpine WSL
From the distribution’s page, select “Get”.
The first time you launch a newly installed Linux distribution, a console window will open and you’ll be asked to wait for a minute or two for files to de-compress and be stored on your PC. All future launches should take less than a second.
You will then need to create a user account and password for your new Linux distribution.

CONGRATULATIONS! You’ve successfully installed and set up a Linux distribution that is completely integrated with your Windows operating system!
Step B - Moving WSL2 vhdx
If you are using Windows 10 version 1903 (April 2019 Update) or later, you can try the WSL command line tool with the export and import options. If you are using an older Windows 10 version, you can move the distribution to another drive using lxRunOffline.
Using the WSL command line tool
In Windows 10 version 1903 (April 2019 Update) or later, you can use the wsl.exe command line tool.
- Export the distribution. Create a .tar file with the distribution to move using wsl.exe –export
wsl.exe --export <DistributionName> <Tar-FileName>
For instance, to export an Ubuntu distribution, you can use
C:\> wsl.exe --export Ubuntu c:\data\ubuntu.tar
- Import the distribution into the target folder. Then, you can import the exported distribution into another folder
wsl.exe --import <DistributionName> <Folder-To-Install> <Tar-FileName>
For instance, to import the exported Ubuntu into a new UbuntuCustom distribution, you can use
C:\> wsl.exe --import UbuntuCustom d:\wsl\UbuntuCustom c:\data\ubuntu.tar
NOTE: You may check an script for moving WSL distros that use these commands at https://github.com/pxlrbt/move-wsl
Using LxRunOffline
In any Windows 10 version, you can move the distribution to another drive using lxRunOffline.
- Set permissions to the target folder. First, I think you must set some permissions to the folder where the distribution will be moved. You may use icacls
/grant " :(OI)(CI)(F)" to set the proper permissions.
C:\> whoami
test\jaime

C:\> icacls D:\wsl /grant "jaime:(OI)(CI)(F)"
NOTE: In addition to the above permissions, I have activated the long path names in Windows.
- Move the distribution. Using lxrunoffline move.
C:\wsl> lxrunoffline move -n Ubuntu-18.04 -d d:\wsl\installed\Ubuntu-18.04
You may check the installation folder using
C:\wsl> lxrunoffline get-dir -n Ubuntu-18.04
d:\wsl\installed\Ubuntu-18.04
- Run the distribution. after moving the distribution, you can run the distribution using wsl or the same
lxrunoffline
C:\wsl> lxrunoffline run -n Ubuntu-18.04 -w
user@test:~$ exit
logout

C:\wsl> wsl
user@test:/mnt/c/wsl$ exit
logout
WoW! You were successfully able to image the virtual harddisk of WSL2 to other drive. Congratulations!